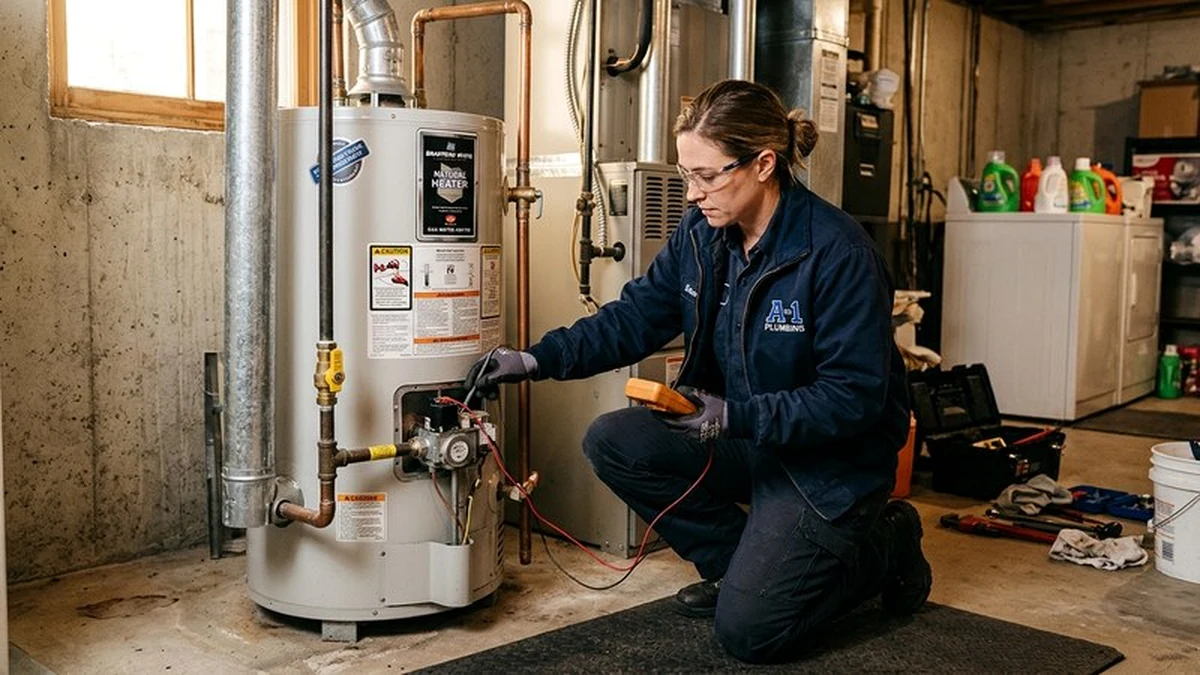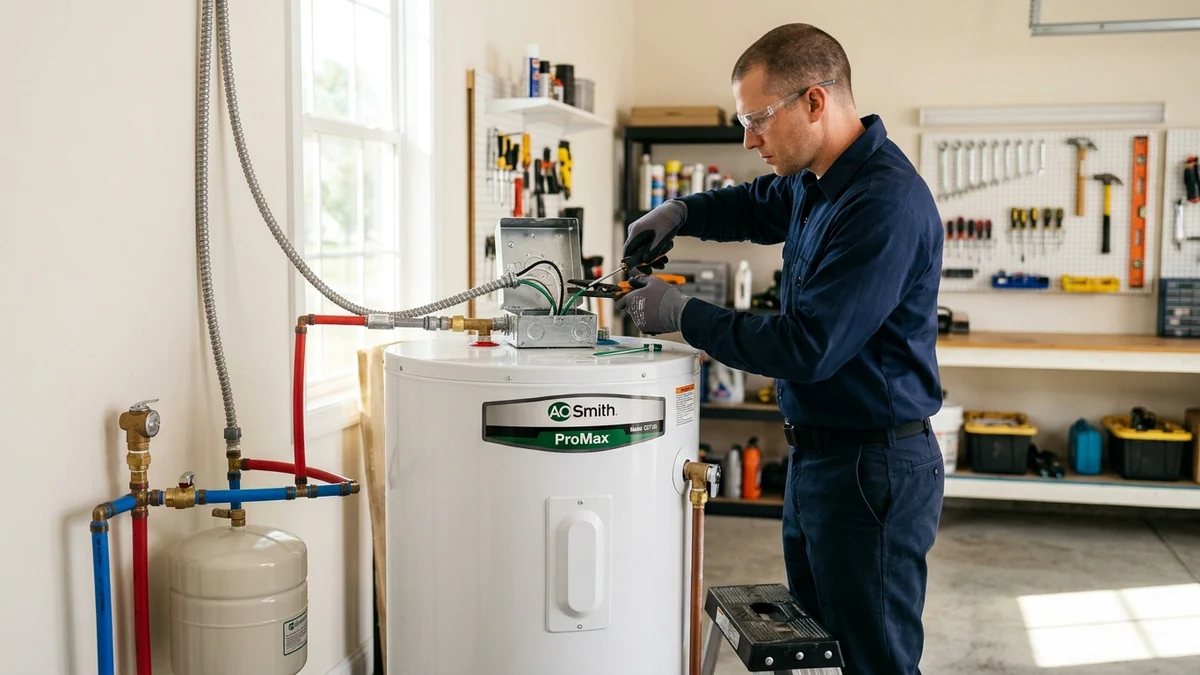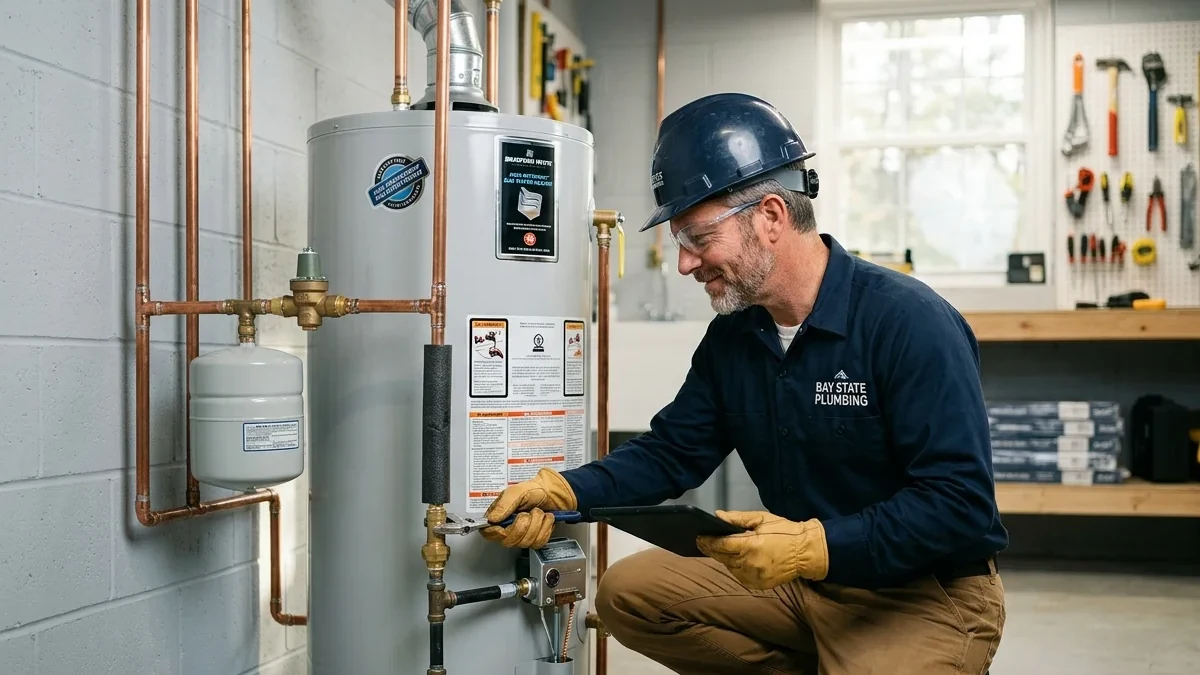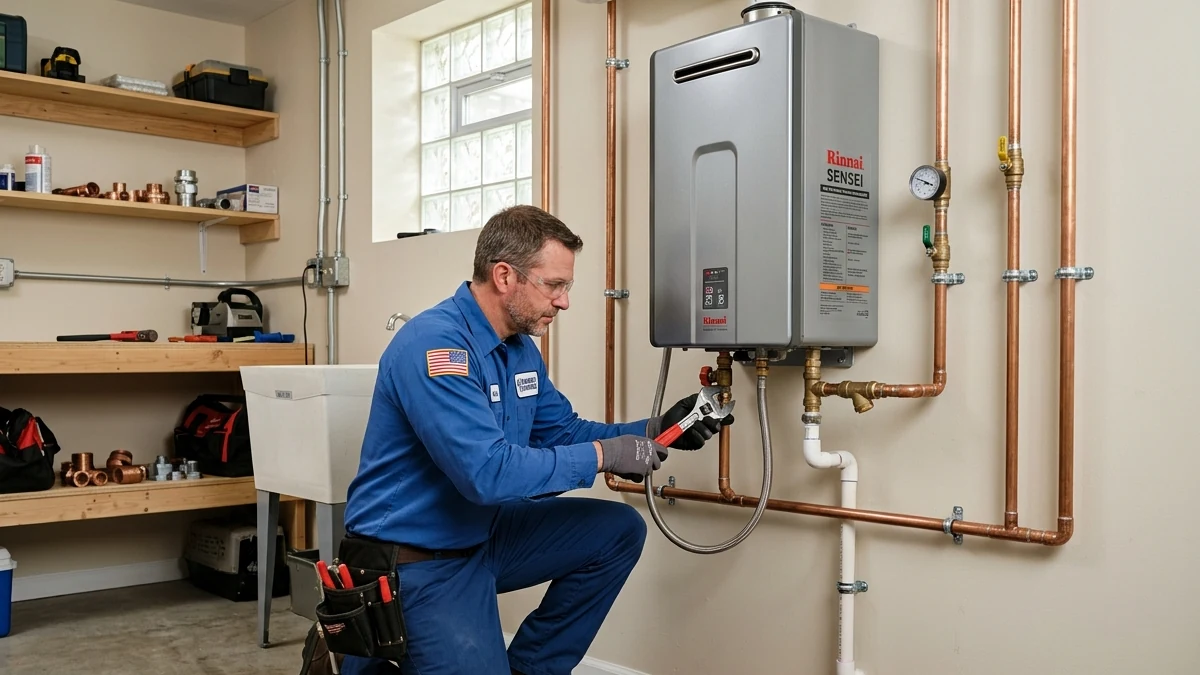
A professional water heater replacement involves nine standardized phases: site safety inspection and utility shutoff, complete tank draining, physical disconnection of plumbing, gas, or electrical lines, removal and eco-friendly haul-away of the old unit, placement and leveling of the new tank, installation of code-compliant seismic strapping, connection of thermal expansion tanks and shutoffs, pressure testing, and final combustion/ventilation safety verification.
- Phase 1: Site Inspection & Utility Isolation
- Phase 2: Tank Draining & Plumbing Disconnection
- Phase 3: Removal & Eco-Friendly Disposal
- Phase 4: Positioning, Leveling & Title 24 Straps
- Phase 5: Water, Gas & Electrical Connections
- Phase 6: Filling, Pressure Testing & Calibration
- Phase 7: Homeowner Walkthrough & Maintenance Tips
Phase 1: Site Inspection & Utility Isolation
A professional water heater replacement begins well before any wrenches touch pipe fittings. Upon arrival, the licensed plumbing technician inspects the physical workspace, structural wall studs, fuel supply lines, electrical circuits, and exhaust venting configuration.
Utilities are systematically isolated to ensure life-safety: the domestic cold water supply is shut off at the dedicated inlet valve, the gas line is closed at the emergency quarter-turn ball valve (or the 240V circuit breaker is locked out), and testing meters verify that no active gas or voltage is present.
Phase 2: Tank Draining & Plumbing Disconnection
Draining a 50-gallon water heater requires patience and specialized equipment. The technician attaches a commercial-grade transfer hose to the brass boiler drain valve at the base of the tank and routes it to an exterior drain. If the drain valve is clogged with heavy mineral sediment, commercial utility pumps are utilized to clear the blockage.
Once empty, the technician disconnects the hot and cold water flex lines, removes the gas sediment trap (drip leg) or electrical conduit, and uncouples the draft hood from the chimney exhaust flue.
Phase 3: Removal & Eco-Friendly Disposal
Using a heavy-duty appliance dolly equipped with stair climbers, the old water heater is secured and carefully transported out of the home, avoiding scuffs to doorways and walls. In accordance with Long Beach environmental regulations, decommissioned water heaters are taken to licensed metal recycling facilities where steel, copper, and brass components are salvaged.
Phase 4: Positioning, Leveling & Title 24 Straps
The new water heater is uncrated, inspected for shipping damage, and placed onto a level platform or safety drain pan. California Title 24 seismic safety codes mandate two heavy-gauge steel earthquake straps bolted into structural wall studs with 3-inch lag screws, preventing tank tipping during seismic tremors.
Phase 5: Water, Gas & Electrical Connections
Plumbing connections are installed to current municipal plumbing standards:
- Dielectric Unions & Flex Lines: High-grade braided stainless steel or corrugated copper flexible connectors isolate the tank from domestic copper distribution lines, preventing galvanic electrolysis corrosion.
- Thermal Expansion Tank: Plumbed onto the cold supply line, a pre-pressurized expansion tank absorbs thermal pressure spikes created by municipal backflow check valves.
- Gas Flex Line & Sediment Trap: A new CSA-approved stainless steel gas flex line and a vertical sediment drip leg trap debris before it can enter the delicate gas control valve.
- T&P Relief Discharge Line: A rigid copper or CPVC discharge pipe is plumbed from the T&P valve downward to terminate safely 6 inches above an exterior slab or approved drain pan.
Phase 6: Filling, Pressure Testing & Calibration
Before lighting the burner or energizing heating elements, the technician fills the tank completely, opening hot water taps throughout the house to purge trapped air from distribution lines. Never energize an electric water heater before the tank is completely full of water—doing so causes 'dry-fire' that instantly incinerates heating elements within 5 seconds.
The technician applies liquid bubble leak detection fluid across all gas joints and performs an electronic gas sniffer sweep. The burner is ignited, draft hood ventilation pull is verified with a smoke pencil test, and water temperature is calibrated to a safe 120°F.
Phase 7: Homeowner Walkthrough & Maintenance Tips
Finally, the technician cleans the entire workspace and provides the homeowner with a comprehensive walkthrough: showing the location of emergency gas and water shutoff valves, explaining thermostat adjustments, and reviewing annual flushing recommendations for Long Beach's mineral-rich water.
Frequently Asked Questions
How long does a water heater replacement take from start to finish?
A standard residential water heater replacement typically takes between 3 to 4 hours. Custom installations involving gas line rerouting or fuel conversions may take 5 to 6 hours.
How soon after installation can I take a hot shower?
Natural gas water heaters recover rapidly, typically providing full hot water within 45 to 60 minutes after commissioning. Electric water heaters take roughly 75 to 90 minutes to fully heat a 50-gallon tank.
Will the plumbing technician haul away my old water heater?
Yes. Complete professional installation service includes safely removing, hauling away, and properly recycling your decommissioned water heater.
Need Help With Your Water Heater?
Whether you are dealing with hot water loss, diagnosing a strange noise, or planning an energy-efficient upgrade, our certified local plumbing partners across Long Beach, CA are on standby for prompt telephone dispatch.